Deleting Duplicate Data
Overview
Blank or duplicate data in Excel can cause a lot of inconveniences to you. Whether you import data from a database, get it from a colleague, or collate it yourself, duplicate data can always creep in. And if the data you are working with is huge, then it can become really difficult to locate and remove these duplicates in data table. This lesson walks you through how you can trace duplicate and blank data in data table and manage them.
When you use the Remove Duplicates feature, the duplicate data will be permanently deleted. Before you delete the duplicates, it’s best practice to copy the original data to another worksheet so you don’t accidentally lose any information.
Learning Outcomes
By the time you complete this lesson, you should be able to:
- Locate and highlight duplicate or blank data in an Excel table
- Locate and highlight duplicate data in a column
- Locate and highlight duplicate data in multiple columns
- Delete duplicate data
- Delete blank cells
Removing Duplicate Records from a Table
Duplicate data in Excel can assume many forms. They can be in a single column, multiple columns or an entire row. In this lesson, we consider two approaches that you can use to delete duplicate dara from your table.
Method 1
Let’s study the 8 records of the table in figure 1. Under normal circumstances, the IDs of the candidates should be unique. However, we are confronted with 3 repeated IDs (10BAR045, 10BAC002, and 10BAR006). This calls for cleansing of these duplicates from the table.
To delete the records with the 3 duplicate IDs, do the following tasks:
1. Click the first Student ID (A2) in the table (figure 1).
2. Click Data tab.
3. Go to Data Tools group.
4. Choose Remove Duplicates option (figure 2).

By default, all columns of the table are selected. All cells of the table are also highlighted (figure 3).
5. Click Unselect All to deselect all the columns.
6. Check only Student ID column (figure 4).
You will neither notice the duplicates being highlighted nor any indication of what cells are earmarked for removal Instead, you will see the number of duplicates that were located and deleted (figure 5).
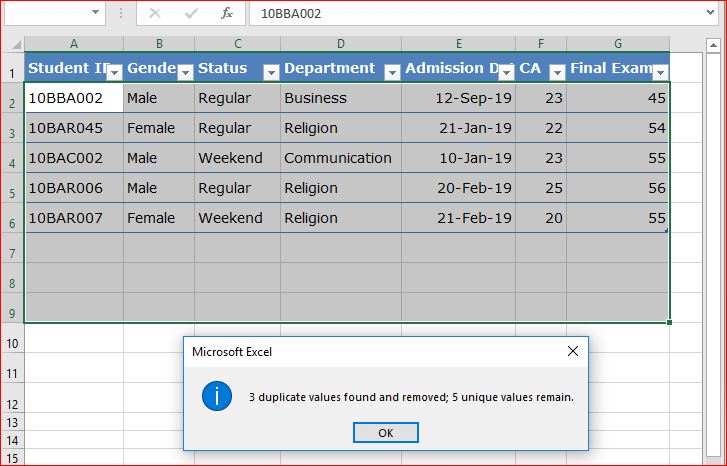
6. Click OK.
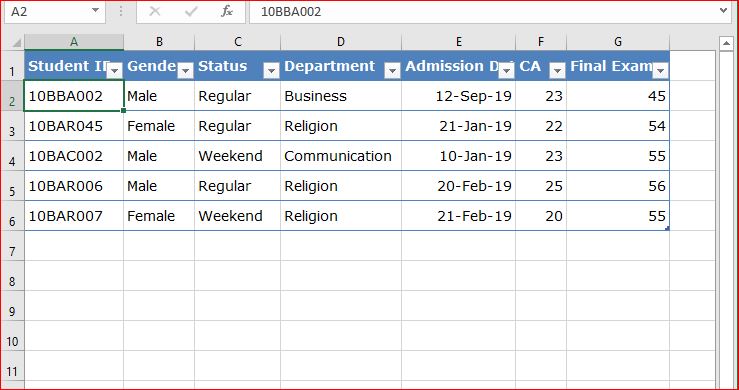
The output of the cleansed duplicates is shown in figure 6. Its now obvious that 5 and not 8 candidates took part in the exams
Method 2
1. Click any cell in your table. This will activate your table.
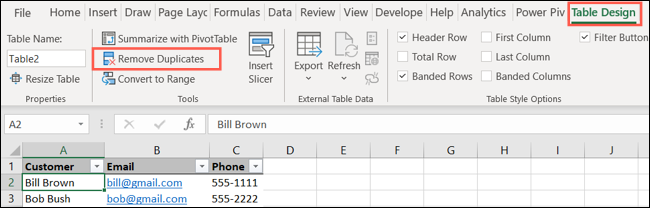
2. Click Design or Table Design tab (figure 7).
3. Go to Tools group.
4. Click Remove Duplicates option.
At this stage, you choose the columns that have the duplicate data you want to remove. By default, all table columns are marked.
5. Click Unselect All.
This allows you to check specific columns by marking the individual columns. Or you can click Select All if you want to use all the columns (figure 8).
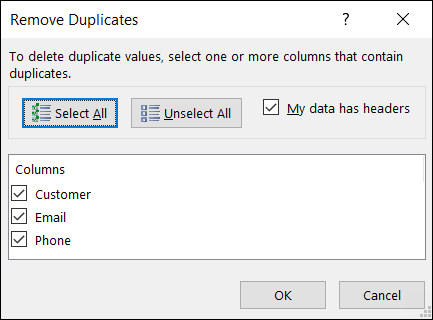
6. Click OK.
The screenshot in figure 9 shows a a table before and after removal of duplicate data.
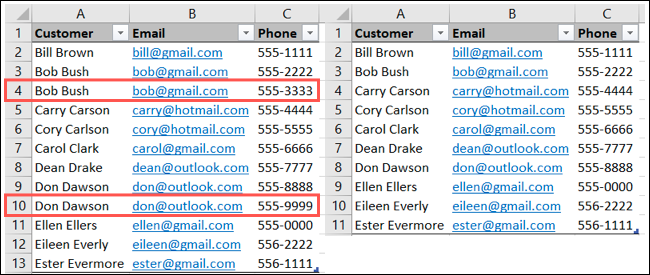
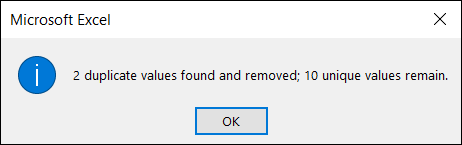
A notification confirming the number of duplicates found and removed from the table is shown in figure 10.